
 Download
 Download
How to Blur Photo Edges Without Photoshop
Have you ever thought of getting that dreamy effect for a picture of you with your significant other? You know, softening the edges of a photo in order to create that romantic and mysterious atmosphere? In this article you will learn how to blur the edges of a photo in three simple steps taking less than a minute of your time.
The good news is, there will be no meticulous selections, complicated adjustments or sophisticated procedures of any kind. It is going to be possible with a simple and user-friendly image editor called PhotoWorks. Blurring your image edges will be a few seconds task for the Vignette tool. You will also find a more customizable and fairly interesting tool called the Radial Filter which will help you to add more details to the fading effect you’re looking for.


Before and after: photo edges blurred with PhotoWorks
Does that look like something you want to achieve? Then here's a how-to for you.
How to Blur the Edges of a Photo in a Few Steps
First off, make sure to download and install the free trial version of PhotoWorks on your computer from our site here.
Launch the application and drag the image you are going to work with into the photo editor’s main window. Now we are all set.
Step 1. Pick the Vignetting Tool
Go to the Tools tab and select Vignetting. The good news is – this is the only instrument we are going to use for fading the edges of your photo. You will see how simple it is.
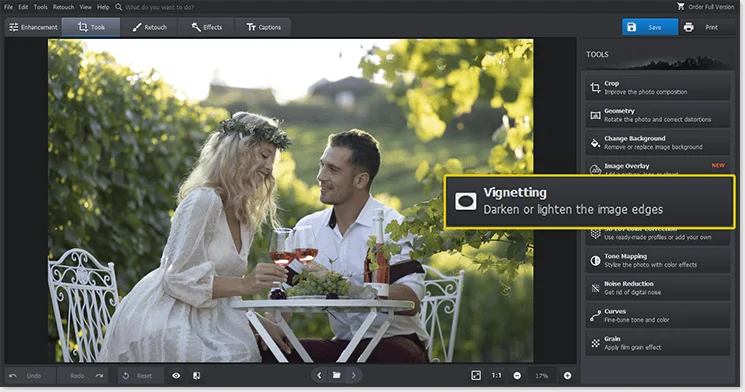
Start with the Vignetting Tool
Step 2. Choose the Shape of Blurred Edges
In order to clearly see the shape of your resulting image drag the Amount and Feather sliders all the way left. Now that it’s done, use the Midpoint and Roundness sliders in order to adjust the desirable shape of your picture edges.
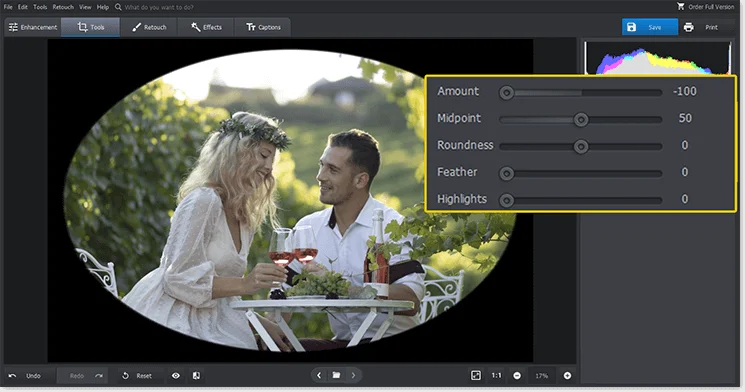
Define the shape of your selection
Step 3. Blur Photo Edges
In this final step, adjust the Feather slider in order to blend the edges with the background. As for the background, you can fade the edges of your photo into black or white or somewhere in between. Use the Amount slider in order to pick up a suitable tone. And now it’s all done!
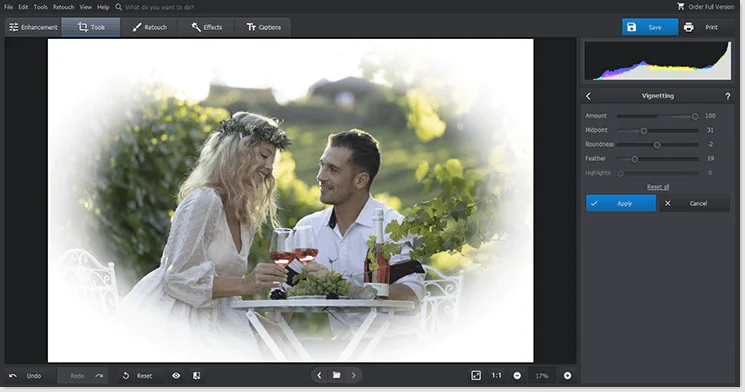
Experiment with black or white background for your photo
As you can see, getting blurred edges does not take to be a genius of photo editing. With PhotoWorks, softening the edges of a photo will take less than a minute.
In case you want to know how to blur the edges of a photo in a more flexible and detailed way, check out the Radial Filter. Probably it’s what you are looking for. So here is what you can do with this powerful tool:
- focus on any area of your image, changing the selection in terms of shape, size and placement
- get the colors you want and make any detail of your image stand out using up to 10 adjustment sliders for light, color & tone as well as sharpness and amount of blur
- create a contrast by applying effects either inside or outside your selection
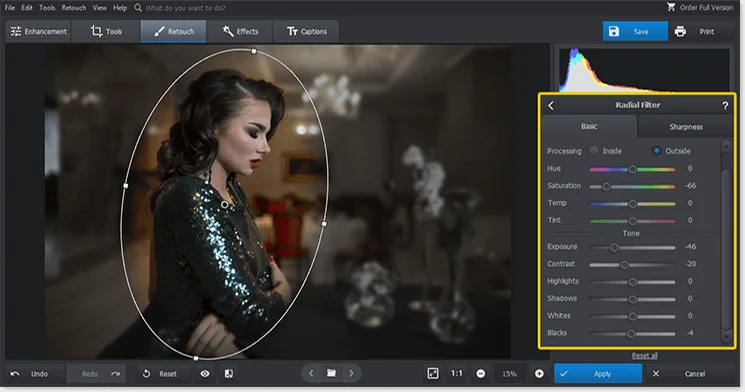
Here's what you can do with the Radial Filter
With the Radial Filter, getting blurred edges for your image can be an adventurous creative journey. But this is not the only way it can be used. For example, it can help you to blur the background of a photo. Who knows, maybe you might come up with your own ideas of using it?
Want to know more nifty ways of blurring your photo's edges? Take a gander at the video below for more interesting tricks and inspirational ideas:
How to Blur the Corners of an Image - Video Guide

So now you know how to fade the edges of a photo. Did you notice how more sophisticated and graceful those pictures have become? Ready to try this technique with your own photos? Download PhotoWorks and try it free today.
So these are a few easy ways to blur the edges of your image using PhotoWorks. You might also wanna to try this powerful and user-friendly photo editor for other things like changing photo background, removing unwanted details from your image or make your photos look older along with simple corrections, such as fixing overexposed photos and many others. Just spend five minutes of your time giving it a try and you’ll see how simple and convenient it is.
How to Soften the Edges of a Photo in Other Ways
Granted, the easy PhotoWorks or the all-mighty Photoshop aren’t the only ways to fade out the edges or corners of your images. There are a few other methods you might want to try. For instance, you can always turn to GIMP. This free picture editor has an interesting Fuzzy Border option that can give your images somewhat jagged edges.
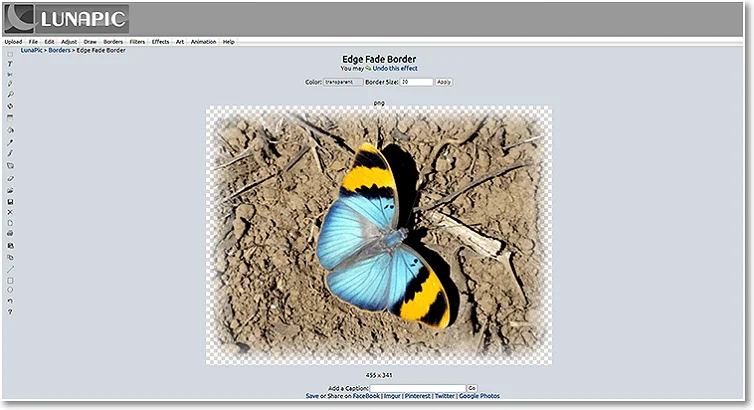
Give your photo blurred or faded edges with an online service
If desktop software isn't the way to go for you, you have at least two more options. First, opt for using an online service. Basically all you have to do is to upload your image and you’ll have it processed in an instant. If you prefer to edit images on your smartphone, then you’ll enjoy a specialized mobile app. The workflow is also simple - just open a picture in this application and paint over the edges to either blur or fade them.
PhotoWorks & Other Tools to Soften Edges of Photos
Now you know a simple secret of how to make your photo either dreamy or exceptionally stylish. All you have to do is blur the edges of this photo. Luckily, there are 4 different ways to do it. Can't decide which tool to use? Start with a free trial of Photoworks and give your pictures that much-needed touch up today.
