
 Download
 Download
How to Overlay Pictures - Best Ways in 2026
Have a thing for artistic photo montage? Or just want to troll your friends with some face swapping artwork? Whichever it is, you’ll have to merge two (or more) images by overlaying them. And it is a lot easier than it sounds! To prove it, we have created a guide on how to overlay photos in 6 different softwares! Whether you are a Windows or a Mac user, a mobile apps aficionado or prefer web-based services - there will be a way just for you. Some methods are just a drag-and-drop thing, others take more time but give more artistic freedom, so read on to find your perfect way of overlaying images.
- Way #1. Create seamless overlays with PhotoWorks
- Way #2. Blend two separate images with Photoshop
- Way #3. Craft a lovely photo montage with GIMP
- Way #4. Overlay images on your cell phone
- Way #5. Blend two pictures into an atwork online
- Way #6. Use MS Paint to overlay your photos
So let’s dive in and see what it takes to blend two images into one.
Way 1. How to Overlay Photos with PhotoWorks
If you think that all hi-end photo editors are as complex as Photoshop, then PhotoWorks will be a pleasant surprise. This smart photo enhancer possesses all the pro-level tools you might need to edit your pictures. But at the same time PhotoWorks is a breeze to master. Let’s see how to overlay pictures on Mac or Windows with this software.
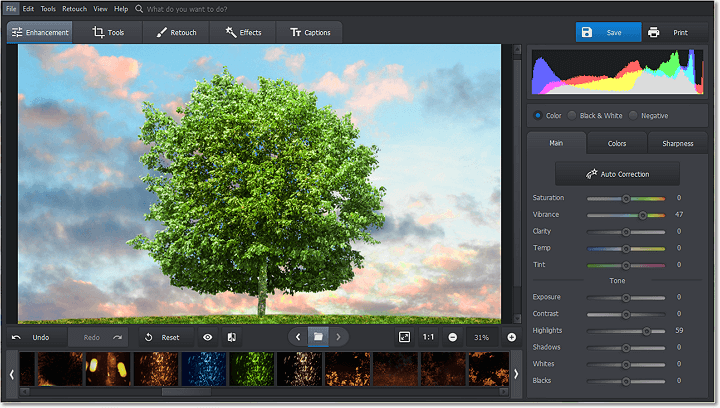
Step 1. Open the Main Image with PhotoWorks
Once you have the idea for your artwork, open the photo that will be the base layer in PhotoWorks. If your shot needs some enhancement, click the Auto Correction button - the software will fix its brightness, contrast, and saturation.
If you want to switch between pictures, there is a content navigation panel at the bottom of the screen
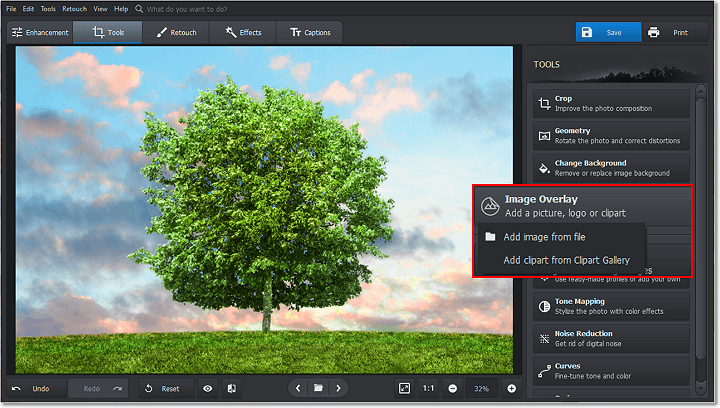
Step 2. Pick the Image Overlay Tool
Switch to the Tools tab and find the Image Overlay tool. Once you click it, you’ll have the option to use an image of your own, or go with the built-in collection of cliparts.
If you go with the Clipart option, you’ll get access to 60+ colorful elements
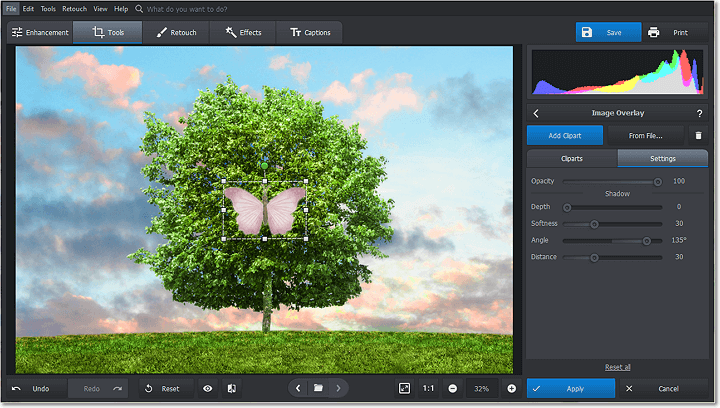
Step 3. Add the Top Image
Click Add Image from File and choose the picture to add atop the base image. If it’s a logo or an ornament, make sure it is a PNG file with a transparent background.
You can easily delete any element you added by clicking the trash bin button
If you don’t have a ready-to-use image, you can use PhotoWorks’ handy background removal tool. Just switch to the Tools tab and pick the Change Background instrument. Follow the guideline to remove the photo backdrop, then save the image as a PNG.
Step 4. Adjust the Top Layer
Now, find the perfect spot for your top image. You can also resize and rotate the layer, as well as make it semi-transparent or add a shadow to it.
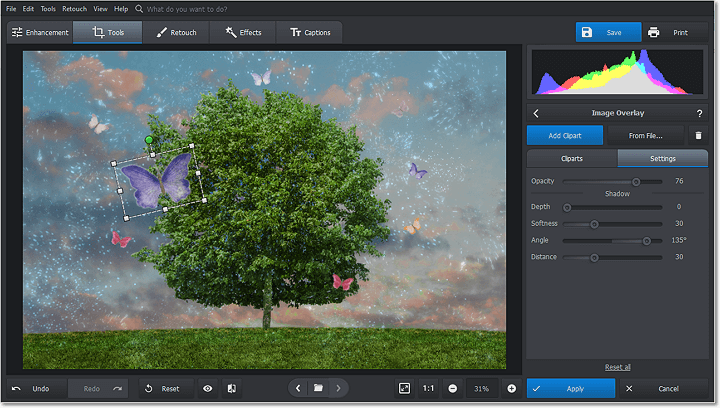
Add as many elements as you like
Want more ideas on what you can do with this image overlay feature? Then watch this short tutorial for some inspiration and a bit of technical tips.

Want to try this easy image overlay method yourself? Then get started with PhotoWorks right now and make your boldest photo montage ideas a reality!
And there you go! A few precise clicks and you have overlaid your images and created a lovely artwork. And that’s only a glimpse of what you can achieve with PhotoWorks. This powerful photo editor comes with other nifty features like a built-in collection of gorgeous filters, a library of color grading presets, and tools that make a picture background transparent or swap it for a backdrop of your choice. In other words, PhotoWorks is photo editing made easy.
Ovelaying images is arguably the easiest way to create a photo montage, but it is certainly not the only method. Wish to discover some more tricks? Then learn how to make a photo montage with PhotoWorks.
Way 2. How to Overlay Pictures with Photoshop
Well, you can’t tackle photo editing without mentioning this industry giant. Photoshop is filled to the brim with image editing tools and can do wonders with layers, masks, and brushes. But all those features come at a price, both the literal type (remember the cost?), and the price of your time. Let’s find out if there is a way you can overlay photos with Photoshop without much struggle.
Step 1. Open Both Images with Photoshop
Let’s try the easiest way you can blend images with Photoshop. First, you need to open both images in the software.
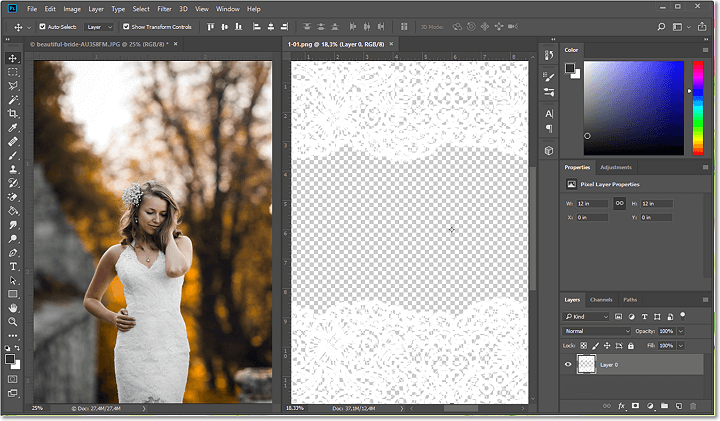
Go to the Window tab to arrange the pictures view mode the way you want
Step 2. Overlay the Two Images
Drag and drop your top pic onto the base layer. Resize and rotate it to fit the other picture.
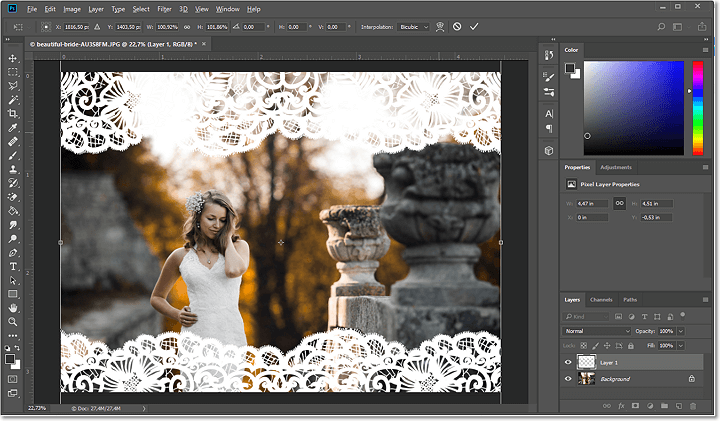
Click the eye button next to the base layer to hide it so that it won’t distract you
Step 3. Adjust the Opacity of the Top Pic
Now, change the opacity of the top image to make the base image seep through. All you have to do is to drag the opacity slider.
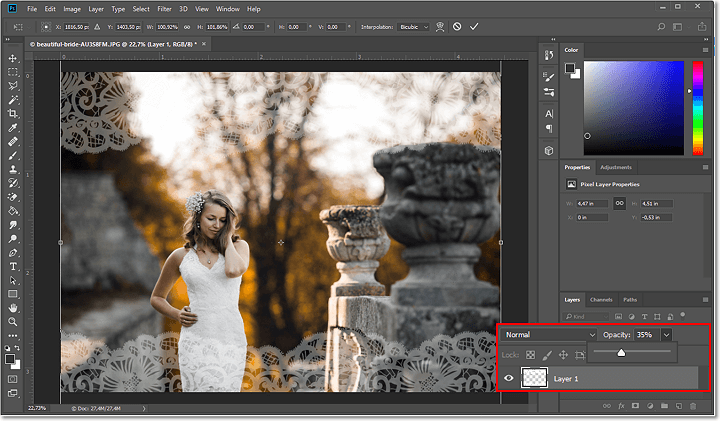
You can change the opacity of the top image by typing in the percentage
Well, that didn’t seem to make much time. However, this was the easiest way to overlay images on Mac and Windows. There are certainly more ways you can overlay pictures with the Adobe product that are a lot more artistic and intricate, but also more difficult and time consuming. Curious? Then learn how else you can blend images with Photoshop.
Way 3. How to Use GIMP for Image Overlay
Are you an Apple user and wish to know how to overlay pictures without Photoshop right on your Mac? Then do it with GIMP, a beloved free photo editor. This program has both basic and advanced editing tools and can also be used to create original artwork. Although not quite as feature-rich as, say, the aforementioned Photoshop, GIMP still requires some time to master. So let’s see how you can overlay your separate images with it.
Step 1. Open the Top Image
Import the top image into the software. Then, switch to the Layers tab, choose Transparency, then click Add Alpha Channel.
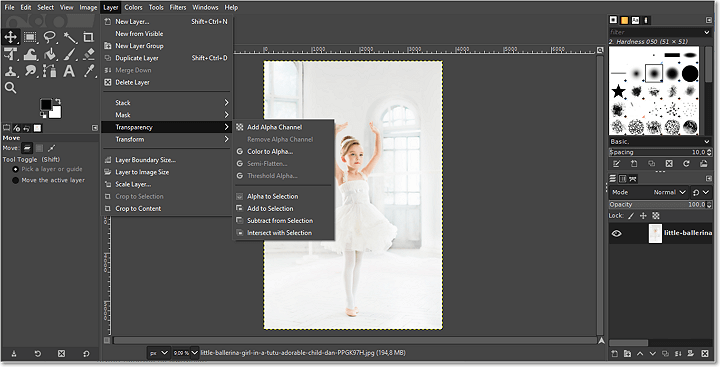
You can skip this step if your top image has a transparent background
Step 2. Delete the Background of the Top Pic
Pick the Eraser tool from the left-hand side panel and paint over the picture background to remove it. Save your new image as a PNG file.
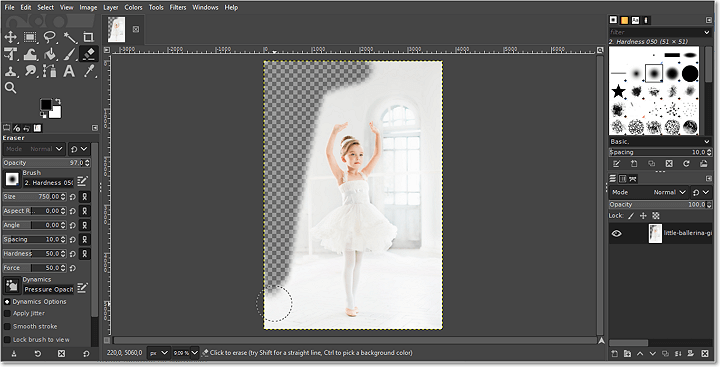
Zoom in the picture to avoid accidentally erasing the object of the shot
Step 3. Add the Top Pic to the Base Layer
Now, open your second picture. Then, click Open as Layer and select the new PNG file. It will be added atop of the bottom image.
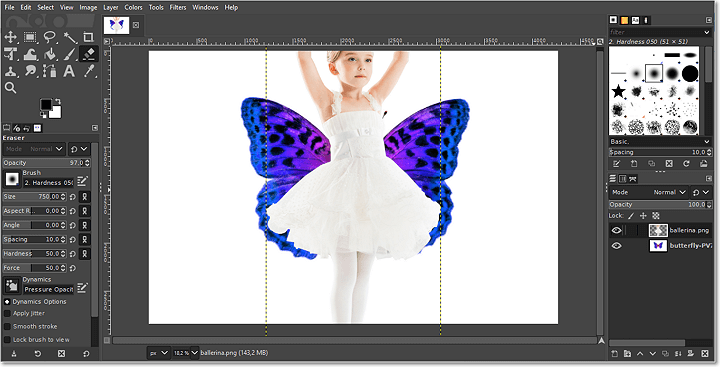
Here we have Tinker Bell in the making
Step 4. Edit the Top Layer
Finally, place the new layer where it fits best. Adjust its size and rotation using the Unified Transformation tool.
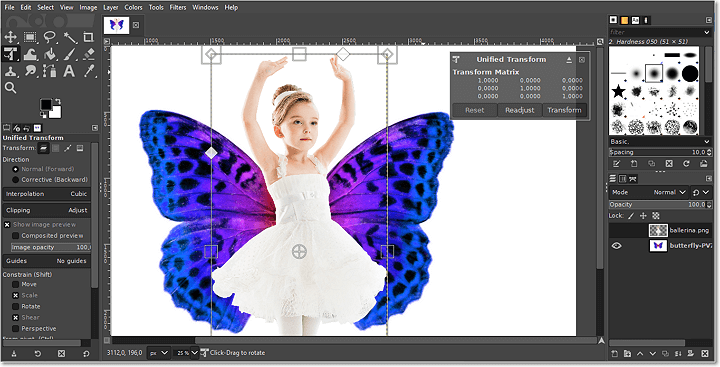
Don't worry about the ratio of the picture - when resizing, GIMP won't warp it
Did you know that the software’s mascot is named Wilber? Give him a visit and learn what else you can do with GIMP.
Well, that took a bit of fiddling, but the result looks neat. So if you are ready to spend some extra time for a decently looking artwork, be sure to check GIMP out. After all, the software is completely free.
Way 4. How to Perform Photo Overlay on Mobile
Nowadays, you don’t need a desktop program to do whatever you please with your pictures. All you need is your smartphone. If you are a proud iPhone user, then you can try overlaying images right on your cell phone with Piclay Photo Blend Overlay. Let’s have a look at how it’s done.
Step 1. Pick the First Image
Open the application and choose the first image. You can choose a picture from your gallery or snap a shot right from the app.
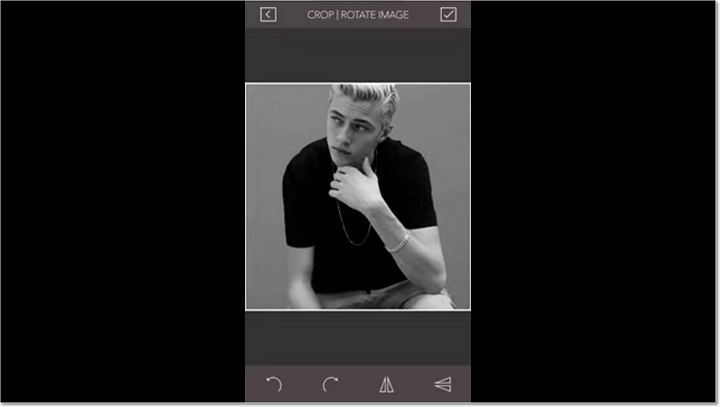
Let’s pick this moody portrait for the montage
Step 2. Select the Second Pic
Now, click the 2nd Image button and choose the other pic. It can be either from the application’s library or a picture of your own.
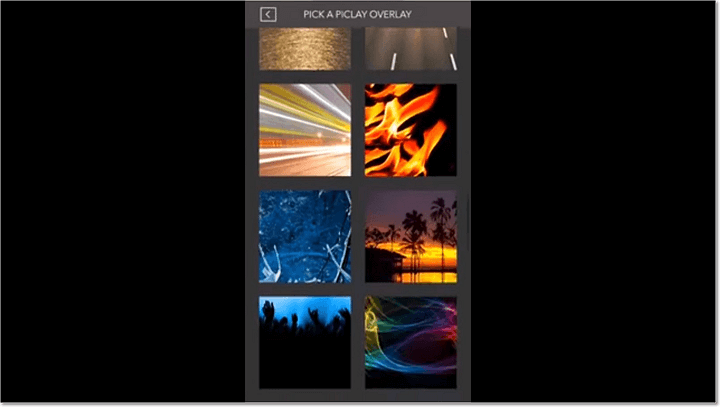
We’ll go with a default picture
Step 3. Adjust the Opacity & Add Effects
Set the level of opacity for a stark or a smooth blending. You can even add some texture to make the artwork more graceful.
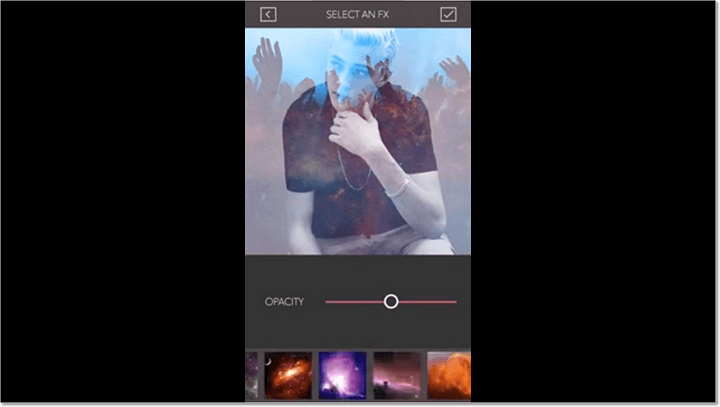
Let’s spice up our image with an otherworldly effect
An awesome result in just a few moments? And right on your iPhone? Well, that’s what Piclay Photo Blend Overlay can grant you. Admittedly, the editing options for the overlay are somewhat limited, but for something that you can make right on the go it looks quite beautiful.
Way 5. How to Overlay Images Online
Don’t you wish there was a browser-based application that could help you do virtually anything? Well, there is such a jack-of-all-trades, and it called Pinetools. This online service is filled with different tools you might need in your everyday life - from a stopwatch and a random number generator to a photo editor. With this application, you can perform basic image enhancements, as well as make simplistic photo montages. So let’s see if this web-based app is capable of overlaying photos.
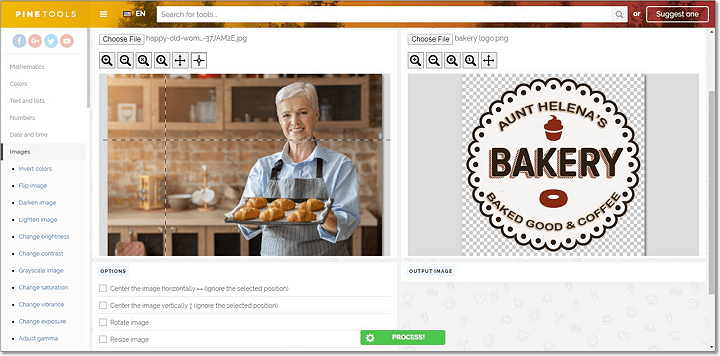
Step 1. Open Your Images
First, upload your pictures to Pinetools. The main image should be the base and the secondary image is the one you’ll be overlaying.

Let's create a lovely ad for a bakery
Step 2. Set the Position for the Top Layer
Move the crosshairs around the base image to find the perfect spot of the top layer. Adjust the secondary pic’s size and angle.
Try to be as precise as possible when moving the crosshairs
Step 3. Overlay Your Photos
Once you click Process, you’ll blend the two images together. Now you can save your montage as PNG or JPG.

You can change the position, size, and rotation of the top image and hit Process again
Curious what else this web-based application can help you with? Then visit Pinetools website and learn about its many helpful features.
Well, as they say - jack-of-all-trades, master of none. Pinetools is no doubt a great asset to many people, but a powerful photo editor it is not. While you can technically use this application to overlay images, the process might seem a bit confusing and the possibilities are limited. But if you have no desktop software at hand, Pinetools might really help you out.
Way 6. How to Create Picture Overlay with MS Paint
If you are a Windows user, then you are quite familiar with MS Paint. The default graphics editor for the popular system, this software comes with the most basic tools for photo editing and design creation. MS Paint has no, for the lack of a better word, serious editing features, but what this software lacks in functionality, it certainly makes up in user-friendliness. Let’s have a glimpse at how you can overlay images with it, shall we?
Step 1. Open Your Top Image
First, you need to open the top picture. Just click File -> Open, then choose your image.

This little guy needs a fellow musician
Step 2. Make a Selection
Choose the Select tool and draw around the object you want to add to the other image. Copy the selection by pressing ctrl+C.
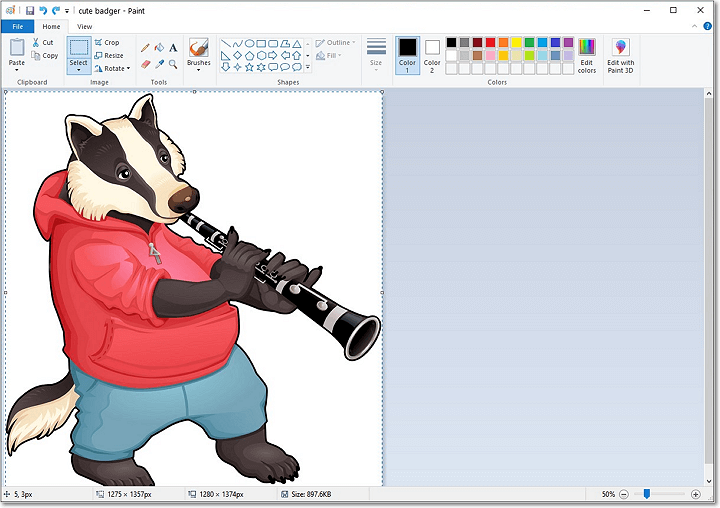
You can either use the rectangular selection tool or just freehand it
Step 3. Overlay the First Image
Now, open the second image with Paint. Paste your selection over it, resize it and move it around.
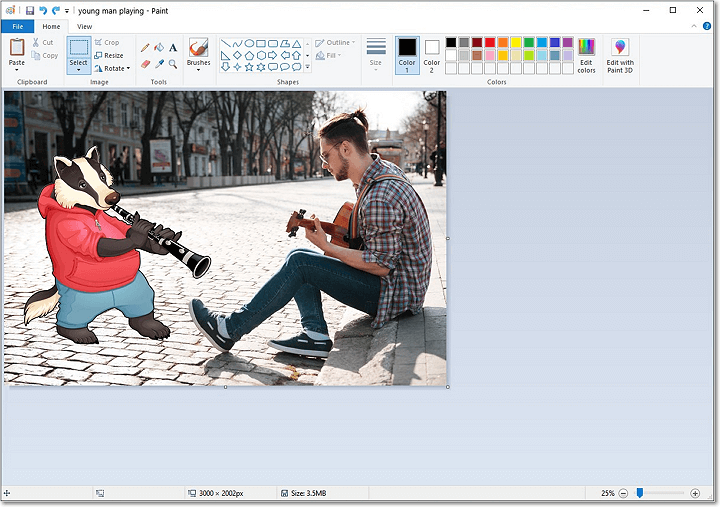
Now we have a lovely duo
And there you have it - this is how you overlay images with MS Paint. The end result might be somewhat subpar to the rest of the ways we have tried, but at least it was the easiest. So if you need to make a photo montage immediately, but you have no other softwares or web applications available, MS Paint will certainly do the trick.
Conclusion
Well, now you know a handful of ways to blend your images into a single artwork. Hopefully, this article will make it easier for you to choose your perfect method based on your skill level, artistic ambitions, and your preferred platform. If you are ready to dive deep into complex editing, then Photoshop should be your go-to choice. If you want to create something quite basic and don’t have much time to spend, then go with MS Paint. But if you are looking for something in between - a method that is both easy to grasp and capable of giving a seamless blend - then have a closer look at PhotoWorks. After all, this photo editor not only gives you more freedom creativity-wise, but also comes with a huge library of cliparts so you no longer have to surf the net for them. So give PhotoWorks a try to see for yourself.
Looking for the best photo overlay software?
Try PhotoWorks to blend two images into a beautiful artwork
