How to Remove Blemishes from Photos in a Flash
Unlike polished and glamorous photos of Hollywood stars, pictures of ordinary people often suffer from face shine, scars, freckles, wrinkles, zits, dark circles and other unflattering blemishes. Of course, you can try to remove pimples and improve your portraits in Photoshop, but this program is hard to grasp and can be a little bit confusing for newbies. A nice alternative is PhotoWorks - a powerful portrait editor that takes you mere minutes to master and edit out any undesired details.
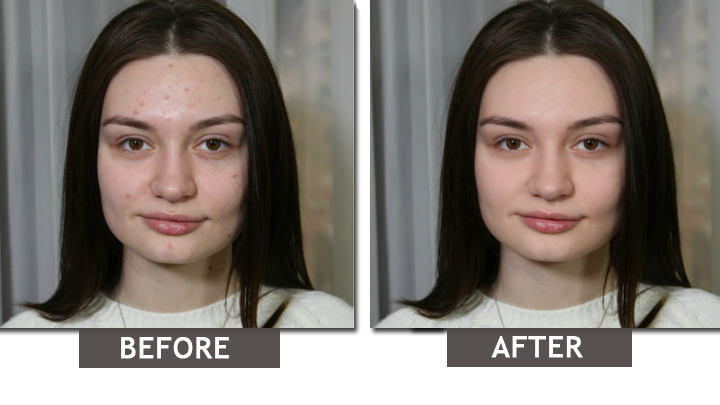
Remove skin blemishes from photo: Before-After
Here, PhotoWorks has successfully got rid of spots on the woman’s forehead and reduced bags under her eyes. The resulting image looks fresh and clean as if it wasn't edited at all. Want to turn your skin perfect on photos yourself? In this tutorial, we’ll show a few simple yet professional techniques to get you nailing portrait retouching with fantastic results. Although we’ll edit headshots, you can use the same tools and methods to conceal cellulite or lumps on your full-body photos. Now, let’s see how to remove blemishes in photos step by step.
Step 1. Get Started with PhotoWorks
Download the setup file and install the photo retouching software to your computer.
Step 2. Find the Healing Brush
Launch the program and move to the Retouch tab. Jump to the Healing Brush tool to remove dark circles from photos and conceal undesired moles.
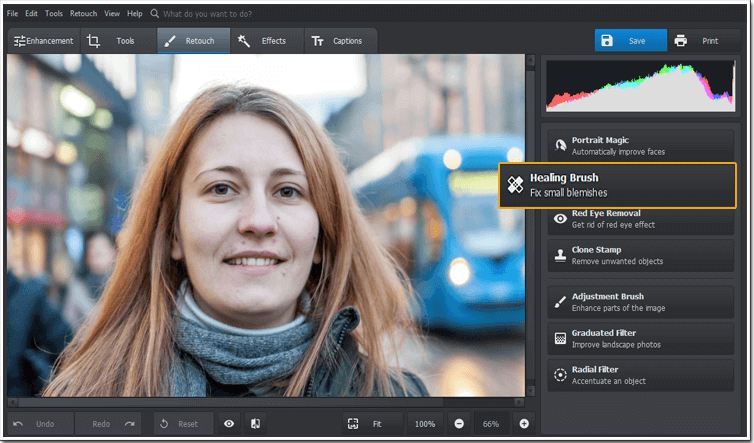
The Healing Brush is the best tool to remove acne from photos
Step 3. Adjust the Brush Settings
Set the size of the Healing Brush a little larger than the spot you’re going to retouch. Adjust the feather and opacity options to soften the transition between the retouched area and the original image.
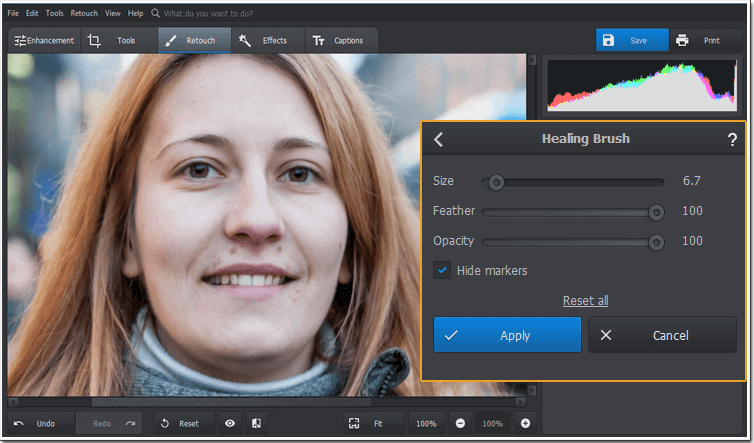
Adjust the brush settings for better results
Noticed that your smile isn't as shiny as you want and spoils the picture? Use a smart teeth whitener to bring the pearly smile back!
Step 4. Get Rid of Blemishes
Zoom in your picture to pinpoint tough-to-find blemishes and marks. The Healing Brush will automatically sample an area of the image it thinks is similar and replace the damaged zone.
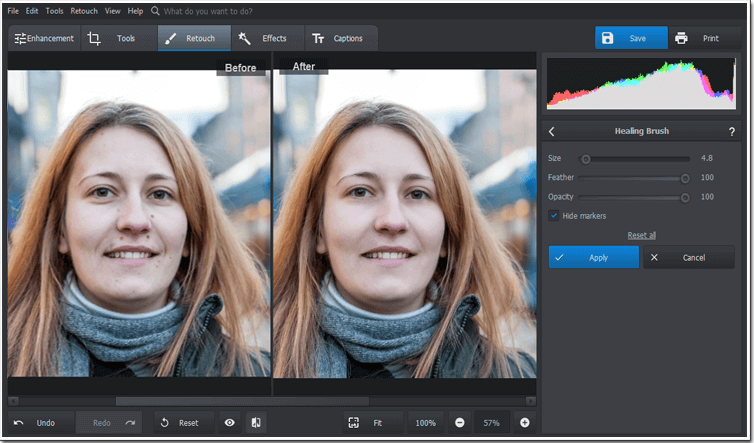
Remove blemishes from photos in a few clicks
Step 5. BONUS: Apply Instant Effects
When your portrait photo is cleared of all imperfections, you’re welcome to give it a finishing touch. Switch to the Effects tab and pick an instant filter that suits the mood of your picture. There’re Popular, Vintage, Toning, Lighting, Movie effects, Quick enhancements and Photographic films.
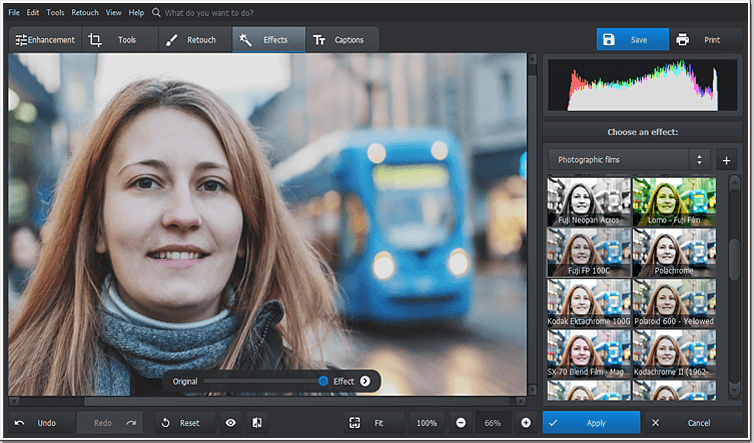
Apply some artistic filter effects to your edited photo
PhotoWorks is More Than a Blemish Remover
Besides erasing blemishes, PhotoWorks is here to enhance your headshots in other ways: add a slight tan to your skin, make eyes more clear, brighten lips, remove redness from your face, and much more. All these adjustments are possible thanks to Portrait Magic, a unique tool for smart portrait photo editing. It does real magic to your ruined shots and reduces an hour’s work to a couple of clicks. If you want to try a new nose or a different mouth shape, the photo editor also has a face sculpting feature. With this powerful tool in hand, you’ll be able to completely transform your digital self or slightly enhance your best features.
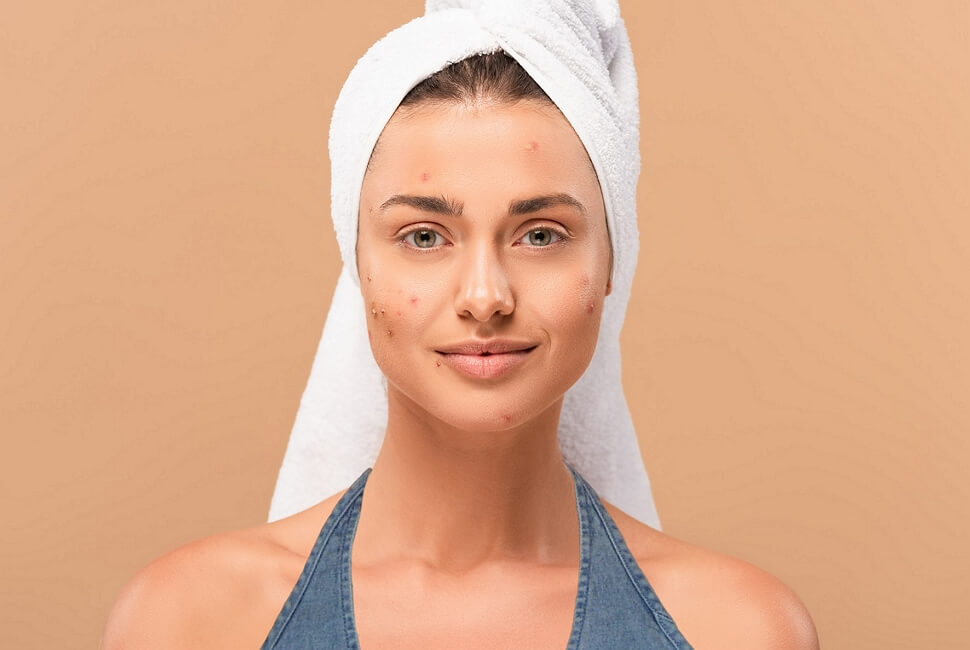
Want to see how you will look with a different eye color? Try our eye color changer and have fun experimenting!
Now you know how easy it is to remove blemishes from photos in PhotoWorks. But in case you prefer to edit your pictures on your smartphone, check out a cool editor for iOS. Not an Apple device user? Then, perfect your portraits with a smart Android photo app instead. This way, you can turn your images flawless no matter where you are and share them with friends right on the go.

