How to Straighten a Photo: No Ruler Needed
Have you ever looked at some photo and felt the need to tilt your head? Skewed horizons and badly aligned lines make the whole pic look rather unnatural and in most cases completely ruin its composition. In fact, slanted pictures are among the most common mistakes of beginner photographers who still have not got the hang of their camera. Luckily, this flaw can be easily fixed. In this article, you’ll learn how to straighten an image in a few easy ways. We’ll have a look at a selection of methods that range in difficulty and platform. Just be sure to stick to the end to find your go-to method of straightening photos.
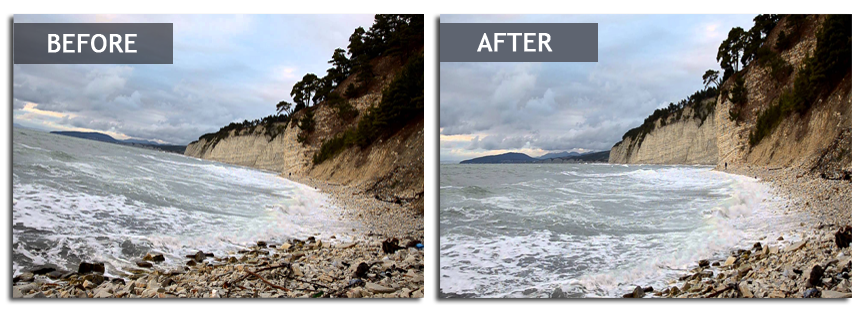
There is no need to tilt your head again - the picture is perfectly straight
Reasons Behind a Skew Picture
You cannot mount your camera on a tripod every time you are going to take a picture. Instead, you hold the camera in your hands where it is not perfectly leveled, and some of your photos come with a skewed horizon line or a crooked object. The same problem is common of pictures taken with a small compact camera. Pictures made in a rush can be not only blurry but also heavily tilted.
How Can You Keep the Horizon Straight in a Photograph?
Sometimes it is much easier to prevent flaws than to remedy them in post-production. So let's have a quick look at how you can keep from having a slanted horizon in your pics. Here's the list of things you should do:
- Keep your camera perfectly in place with a tripod. You will be able to better compose your shots and adjust the horizon level before snapping your pic.
- While taking a shot, line up the horizon line with the top and bottom of your viewfinder. That way the frame in your viewfinder will form the edges of the actual image.
- Use special viewfinder markers (usually a rectangle or a set of focussing spots) that come with professional and semi-professional cameras.
- Apply the ‘Rule of Thirds’ mode (available in some camera models). Overlay a grid in your viewfinder to better see where the level line should be.
- Buy a small spirit level (a little bubble inside shows you when something is straight) and attach it to your camera.
If you have messed things up in your photos and are struggling with getting their lines straight, keep on reading this article and you will learn how to straighten a tilted photo in three simple steps!
How to Straighten a Picture with PhotoWorks
Always wanted to edit your own photos, but found that most popular softwares were too complex and expensive? There is a solution that is neither of those things - PhotoWorks. This automatic photo editor has all the tools you might need to enhance your images on a pro level, but is still affordable and intuitive. Want to see how easy it is to use this software to straighten your pic? Here's a little guide for you.
Step 1. Download PhotoWorks Software
Download this photo straightening tool on the official website and launch the program. Click Open Photo or just drag the image you want to edit to this photo editor.
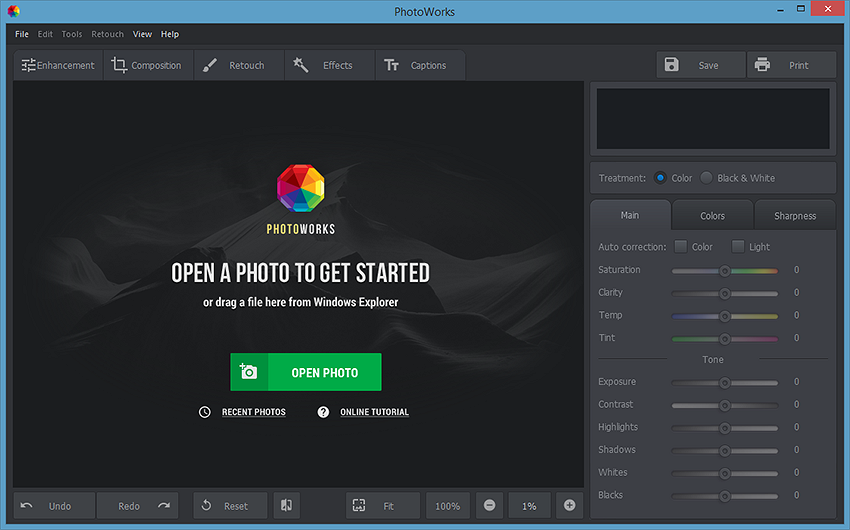
Open your slanted image within the software
Step 2. Straighten the Picture Through Rotation & Cropping
Click Composition > Geometry and take a look at the right toolbar. Switch on Grid to better see crooked lines in the picture. Then move the Rotation slider to the right or to the left until the horizon line is straight. Tick the Constrain crop box to make up for the slanting of your photo from rotation. Hit the Apply button and compare the result with the initial image!
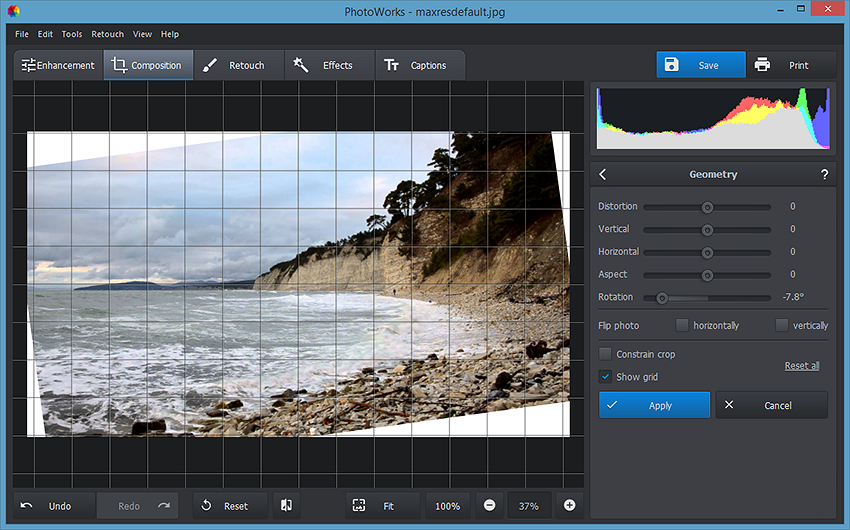
Just a slider drag - and your image is no longer crooked
There’s also an alternative way to straighten an image through cropping. While on the Tools tab, hit the Crop button. Drag the Rotate slider on the sidebar until the horizon in your picture is straight again. The program will automatically correct the tilted photo and cut away unnecessary parts. Using this method of straightening photos, you don’t have to crop the picture and can do all the adjustments in one click.
Step 3. Save or Print Your Edited Image
Now your crooked image is rescued and you can save it on your computer to later share online or send it to print. PhotoWorks saves your photos as JPG (JPEG), BMP, PNG and TIFF files so there will be no any quality loss. The smart print module of this photo editor enables you to set the paper size, its resolution and orientation, as well as choose the number of copies and add crop marks to cut out your image if needed.
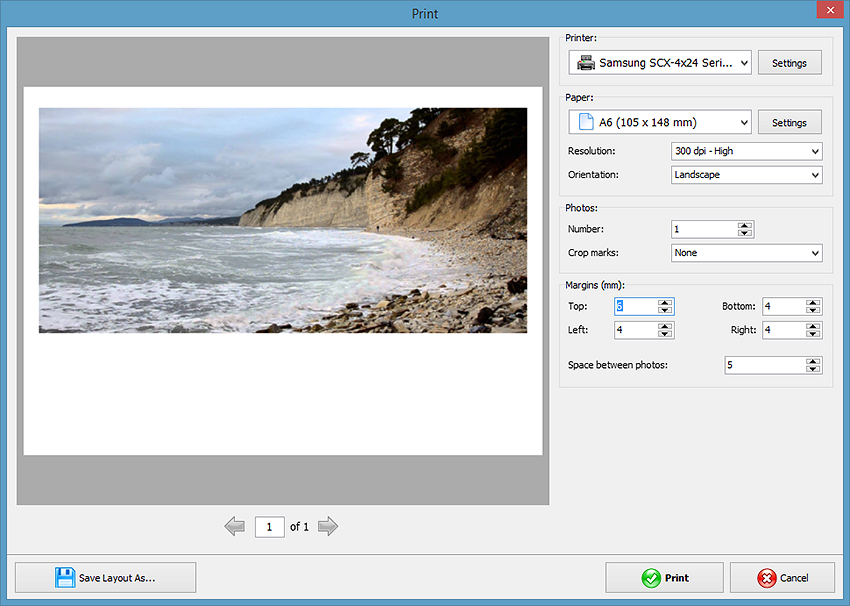
Print your perfectly straight photo
For more detailed instructions on how to straighten crooked photos, watch the video lesson below:

Impressed by the streamlined interface and easy way of straightening photos that PhotoWorks offers? Then start your free trial today to try other nifty features of this smart software.
Once you download this picture editor, you'll dive into the world of easy photo editing, swift portrait retouching, pro-level tools, and tons of beautiful effects. Enjoy!
More Editing Capabilities of PhotoWorks
Discover other editing tools that come with PhotoWorks. If there is something wrong with the composition of your pictures, move the Distortion slider to get rid of wonky and unnatural lines and remove possible lens defects. Adjust the color balance of your photos or boost dull colors in a couple of clicks on the Enhancement tab. Remove shadows from photos and bring back focus to the main subject using an array of magical brushes. Need help with more complicated tasks? For example, don't know how to add a person to a photo? With PhotoWorks, you'll just need to make a few strokes with its smart brushes to nail this task.
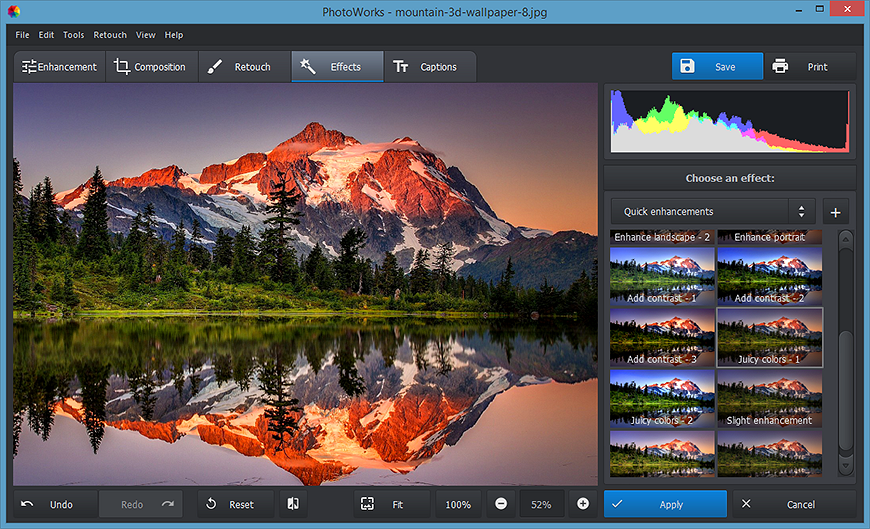
Discover other editing features of PhotoWorks
Want to get perfect portrait shots without Photoshop? Conceal freckles, pimples, shadows and other skin blemishes with magical brushes. Need to know how to remove glare from your photos? Manage the light in your pictures setting the Highlights level or using the Adjustment Brush. Need to erase watermarks and other markers from your shots? Remove dates from photos without a trace with the Clone Stamp. Launch PhotoWorks on your PC or Mac and turn your pictures into masterpieces!
How to Straighten an Image: Other Doable Ways
Looking for other ways of straightening photos? We’ll help you keep your options open - we have a mini guide on other methods to fix a slanted horizon. First, we’ll have a look at the mighty Photoshop. Once you open your slanted image within the software, you need to pick the Ruler tool. Mark out the line that you want your image to be aligned with, then click Straighten Layer - and you’re done! Another photo straightener on our list is Photoshop’s little brother Lightroom. Let’s see how to work with it. Open your photo with Lightroom, then pick the Crop tool. Drag the Angle slider to rotate your image to get the perfect horizon.
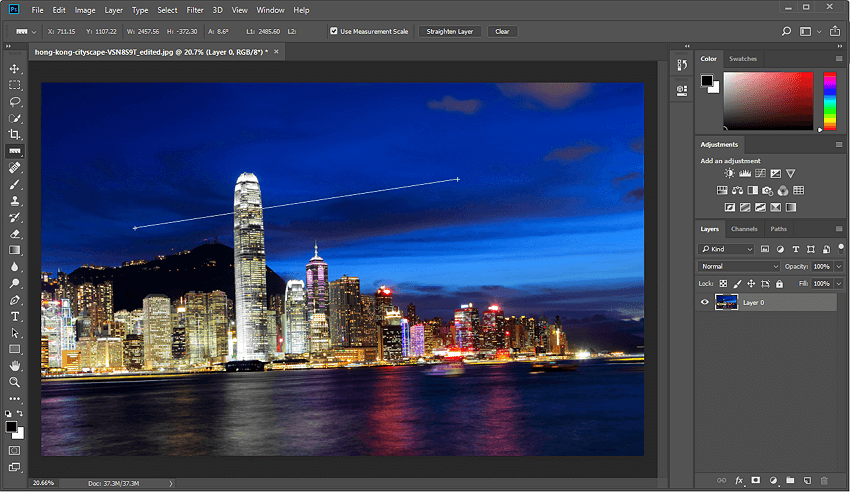
Photoshop has an effective but slightly convoluted way of straightening a photo
If you find Photoshop and Lightroom appealing in terms of functionality, but are scared off by their price, then how about a free solution? Let’s use GIMP to fix our picture. First, pick the Transform tool and make sure to choose the following settings - Direction: Corrective, Interpolation: Cubic, Clipping: Adjust. Check the Rotate box and manually rotate your image by dragging its edges. In case you don’t want to download extra softwares, then fix your slanted image using online services like BeFunky. This is how it works. Upload your image to this web-based application, switch to the Edit tab, find the Essentials tool, and select Rotate. Now simply give your image a spin by dragging the corresponding slider. And voila!
And this is it - now you’ve learned how to straighten a picture in a few surefire ways. If you are confident about your editing skills, go with Photoshop or - in case you don’t want to spend any money - with GIMP. If you want an easier way to straighten your picture without the necessity of uploading your image to a random site, then PhotoWorks is the way to go.

