
 Download
 Download
How to Fix a Grainy Photo - 5 Best Ways in 2026
When shooting in less than ideal conditions, you may face the problem of grainy pictures whose texture is heavily pixelated. If you decide to print your ‘dotty’ photo in a bigger size, all these imperfections will become even more visible. Although grain might be a nice and stylish touch in vintage pictures, in other cases it shows low quality and poor execution. In professional photography, these colorful dots are called digital noise, and they can be a real pain in the neck to get rid of. Luckily, you can make your photographs clean and awesome again with the help of numerous image editors.

Why Do My Photos Come Out Grainy?
Image noise reveals itself as visual distortion. It’s tiny specks or colored pixels evenly scattered over the surface of your photo. You may think that small grain isn’t a big deal and remains unseen in many situations but it seriously affects image quality. Distorting visual details and ruining color balance, this defect is an uninvited guest in your photo collection. Below we’ve mentioned the most common factors bringing grain to your photos:
- Too small sensor: basically, the smaller your camera’s photosite is, the noisier your photo gets. A larger sensor has millions of light-sensitive spots to gather and record the data brought in through a lens without noise. A bad sensor is quite common to smartphones and point-and-shoot cameras.
- High ISO settings: one more source of camera noise is the sensitivity of the camera’s sensor, or ISO settings. If you increase the ISO level, it’ll automatically produce more noise so your best option is to shoot with the lowest ISO but maintain proper exposure. In case you need to take a picture in low-light conditions at higher ISOs, try slightly overexposing the photo while shooting. Luckily, many modern camera models offer the high ISO NR option to set the exact amount of noise reduction.
- Bad exposure: A properly exposed photo is less likely to suffer from unwanted noise. Adjust exposure settings right in your camera especially when you lack natural light during shooting.
Of course, the best solution is to avoid noise in photography than fixing it in post-production. If you still ended up with an imperfect image, don’t sink into despair. We’ve all been there and created this tutorial to show you how to fix a grainy photo in five different ways.
- Way #1. Enhance a grainy photo in a user-friendly image editor
- Way #2. Decrease the noise level in Photoshop
- Way #3. Clean up a grainy image with a plugin
- Way #4. Reduce grain in photos with Lightroom
- Way #5. Fix grainy images in mobile apps
Way 1: Enhance a Grainy Photo in PhotoWorks
Grainy photos can be extremely frustrating to work with, that’s why choosing an intuitive and easy-to-use image editor becomes your top priority. One of the best software to try is PhotoWorks. This auto photo editor is a real pick-up for novice photographers who have neither time nor desire to search for the right tool and try to puzzle out complicated graphs. The program lets you steadily edit any image and denoise a photo in just three clicks. Let’s see how to do it!
Step 1. Launch PhotoWorks on Your Computer
Start the program and drag your photo to the working area from your Windows Explorer or Mac Finder.
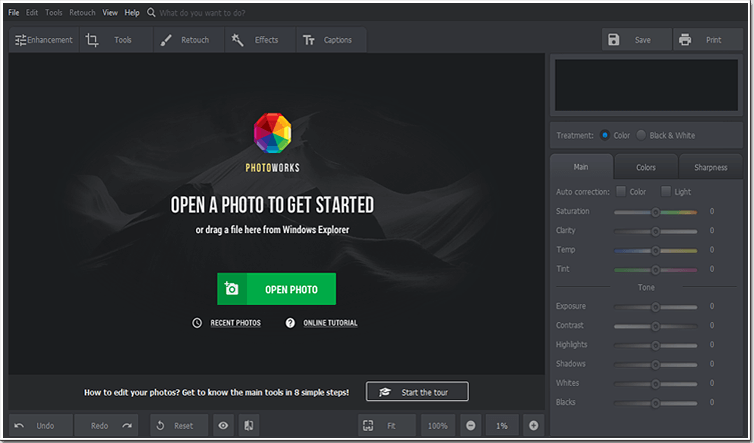
Run the program and add the grainy picture you need to fix
Step 2. Pick the Noise Reduction Tool
While on the Tools tab, click on the Noise Reduction panel and you’ll see all the necessary settings at the sidebar.
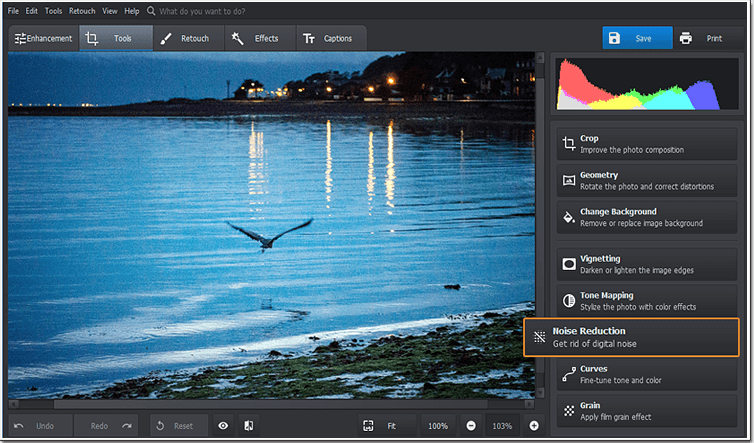
Find the necessary tool in PhotoWorks
Step 3. Remove Grain from Your Photo
The software automatically zooms in some fragment of your image so that you can better see all the changes. Move the Amount slider to the right to smoothen the image.
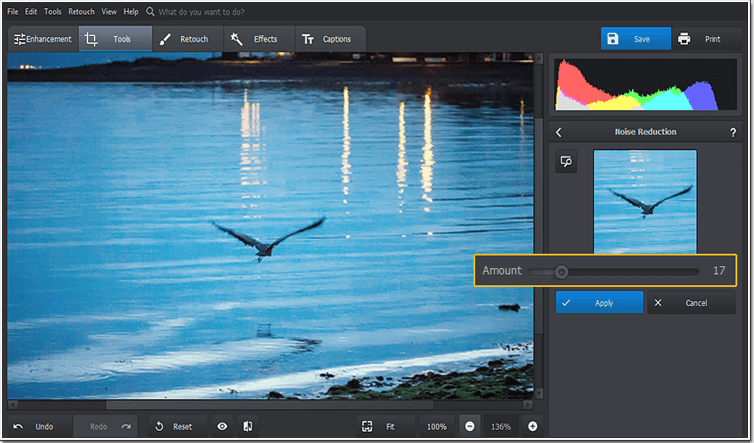
Get rid of these strange-looking pixels
Step 4. Sharpen the Blurred Image
Hit the Before/After button to compare the result with the initial photo. If your image looks too blurry now, switch to the Enhancement tab and adjust the Clarity setting.
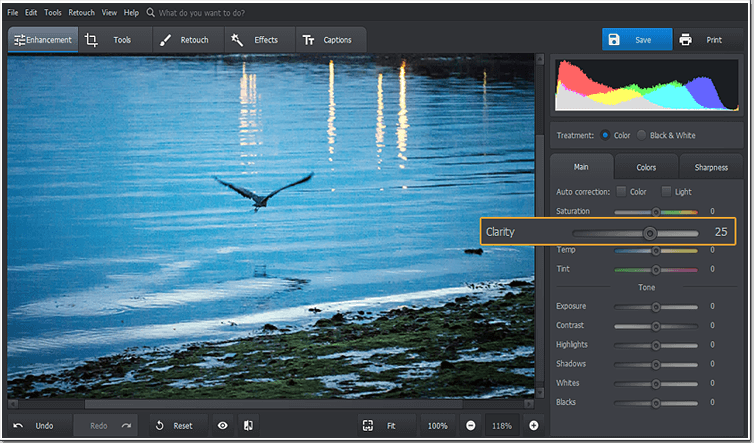
Restore the sharpness of your photo
See, PhotoWorks is fully capable of removing grain from your pictures in just three steps. You won’t have to adjust numerous sliders and settings, it’s a simple click-and-drag process that guarantees a desired result.
Looking for a video guide? Check out this video showing how to get rid of grain in a click:
Grain is a common problem with old photographs. If you are working with one of those, PhotoWorks is the best photo restoration software for this task - it'll help you get rid of noise, scratches and other texture issues.
Want to give PhotoWorks a try? Download the installation file and start your free trial!
Way 2: How to Fix Grainy Photos in Photoshop
We can waste many words describing Adobe Photoshop and all the creative possibilities it provides, but the truth is you have definitely heard about this software if you’re keen on photography. The main question is how to make photos less grainy using this program. We’ll walk you through the whole process.
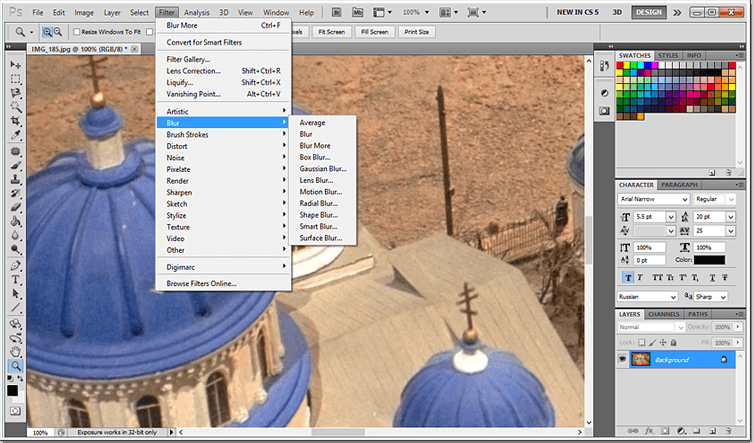
Step 1. Open Your Photo and Zoom It In
Open your picture in Photoshop and click on the Magnifying Lens icon to zoom it in.
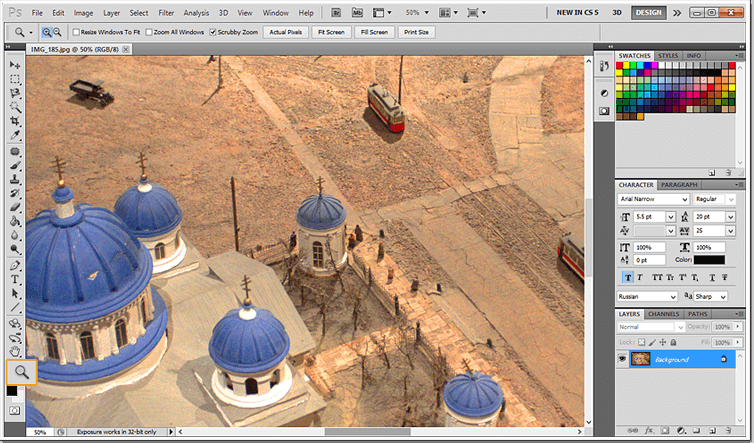
Take a closer look at the photo to see graininess
Step 2. Fix Grainy Photos in Photoshop
Click Filter > Noise > Reduce Noise and drag the sliders in the pop-up window until you’re satisfied with the result.
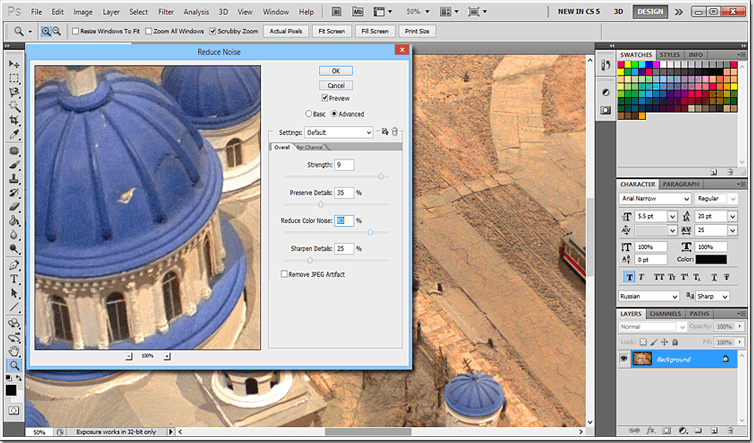
Adjust the sliders to remove high ISO noise
Step 3. Smoothen the Photo Texture
If your photo still seems to be grainy, improve its look with the Blur tool. Click Filter > Blur > Smart Blur and smoothen the ‘bumpy’ surface of your picture.
In addition, blur the image to eliminate graininess
Although Adobe Photoshop offers tons of professional-level instruments, this program isn’t easy to master or even to navigate through. What’s more, its subscription options will hit you in the pocket if you don’t spend each day working in it (and you’re most likely not). If you agree with us on this, consider the other ‘candidates’ below.
Way 3: Clean Up Your Grainy Images with a Plugin
If you’re already working in some photo editing software, it might be more convenient for you to buy an additional plugin for reducing digital noise. Good news is some plugins can save even seemingly hopeless photos and edit the selected areas rather than the whole image. Professional photographers usually use Noise Reducer Pro, Noise Ninja, Neat Image, NoiseWare, Photo Ninja, Topaz DeNoise and other plugins.
Are you a happy owner of a DSLR or any other digital camera? Try Neat Image! This popular plugin can be used as an add-on for Photoshop or a standalone tool. It’s an ideal choice if you want to remove grain from a photo taken at night or at dusk.
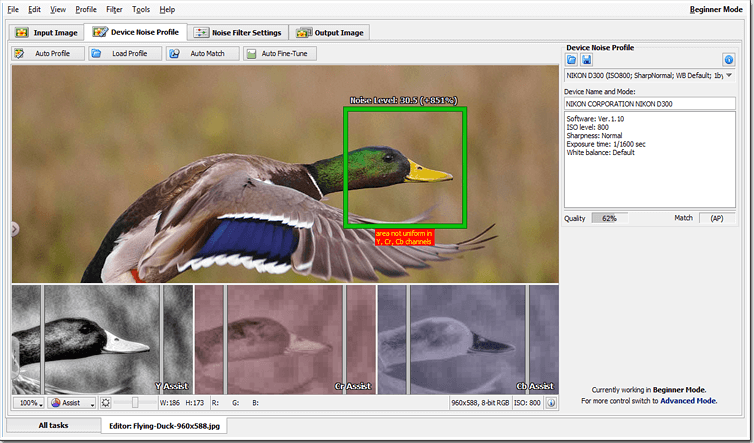
Use a special plugin to fix your grainy photos
However great plugins can be, they often come for an additional price and their free versions provide a limited toolbox. In case you’re already using Photoshop and regularly paying for it, think twice whether you want to invest more money into the solution of your ‘grainy’ problem.
Way 4: How to Make a Grainy Picture Clear in Lightroom
Lightroom is another product of Adobe Systems that can be a nice addition to your photography arsenal. One of the main advantages is that this photo editor automatically applies noise reduction while you’re importing RAW images. If you need to remove graininess from photos in other formats, simply follow the steps we describe for you below.
Step 1. Run Lightroom on Your PC
Open your photo in the program and switch to the Develop mode.
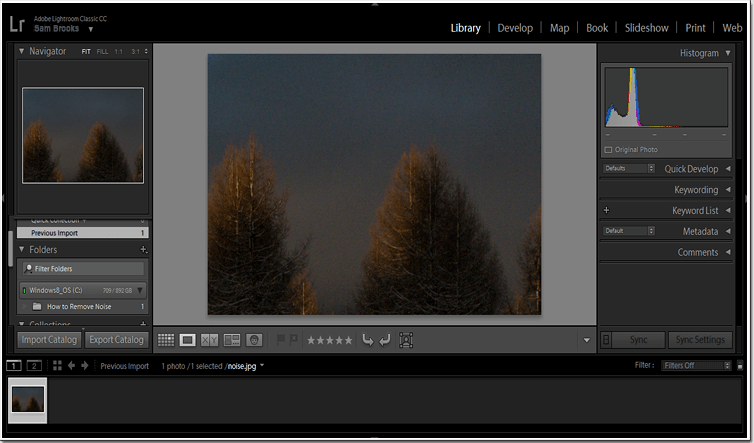
Add your grainy image to the software
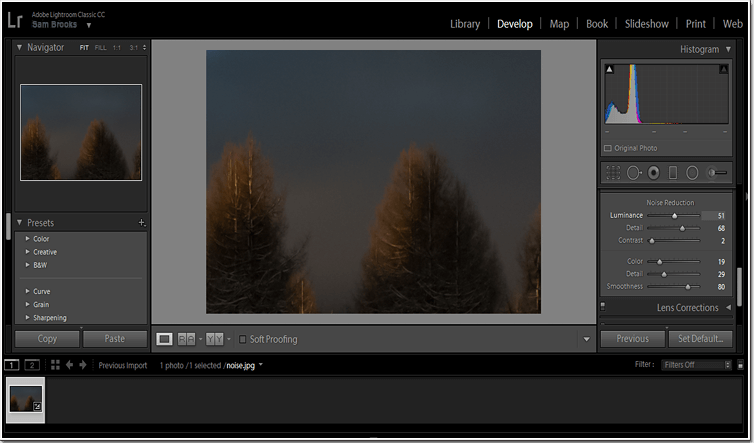
Step 2. Get Rid of Noise in Lightroom
While on the Detail panel, move the Luminance or Color slider depending on the type of noise in your photo. Next, adjust the Contrast and Detail settings.
Reduce ISO noise in Lightroom
Step 3. Compare the Result with the Initial Image
Make sure you’ve achieved the desired effect by comparing the initial image with the edited one.
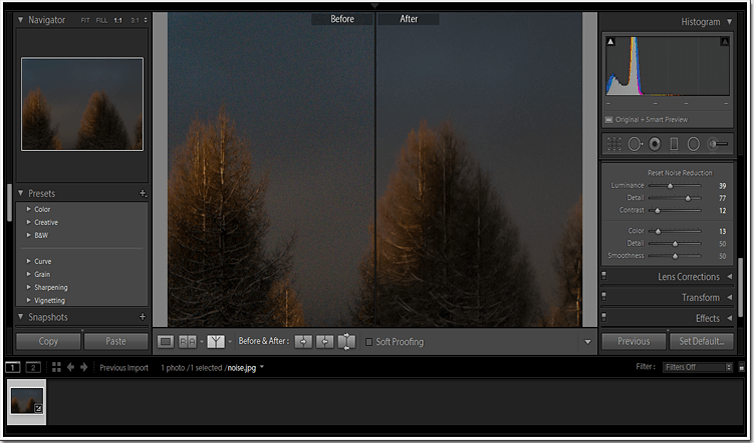
Compare two images to see the result
All in all, Lightroom is a powerful program but it works better for professional photographers who use it on a daily basis. Just like with Photoshop, you have to pay for the subscription to use the program, and even if you don’t use it for a month or even longer, you’ll still need to pay to make a few adjustments later on. It also won’t let you save files as PNG images. If it’s a big deal for you, maybe you need to consider another option.
Want a more detailed guide? Here's how you can fix grainy photos in Lightroom or Photoshop.
Way 5: Fix a Grainy Image in Mobile Apps
If you prefer one-click solutions to the infamous noise problem, you must try mobile applications! These tools take all the complexities out of the equation and present you with an edited picture in less than a minute. There is a lot of apps for iOS and Android, for example, Adobe Photoshop Express, Pics Smoother, Photo Adjust and Noise Reducer Pro.
With Noise Reducer Pro, you don’t have to worry you’ll ruin the photo for good. The app offers only three adjustment modes - Light, Medium and Custom. In case you don’t know what settings to change, you can settle for the built-in presets. Those who want to control the process can move the denoise slider on their own.
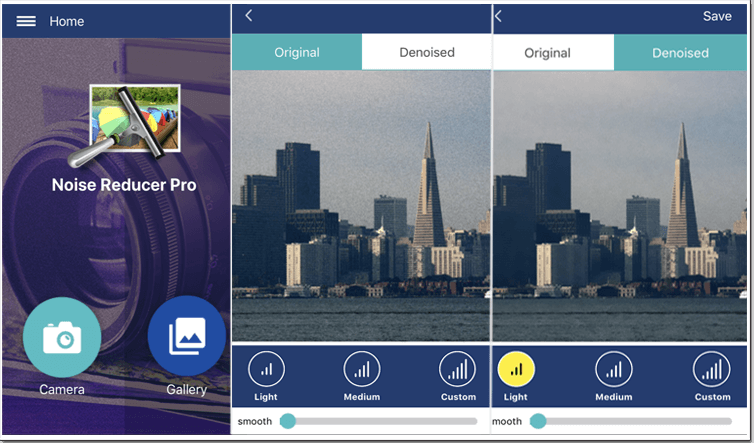
Denoise your photo in a single click
This app is really helpful if you need to get rid of grain in your photo on the go. However, there’s a small probability that you’ll take a grainy picture with your smartphone since it doesn’t have ISO settings. In addition to that, the app is capable of a single one improvement and each time you’d like to edit a photo with some other problem, you’ll need to search for a new tool.
Frequently Asked Questions
- What does grainy mean in photography?
- Why do my photos look grainy?
- Does a high ISO make pictures grainy?
- Is it possible to fix grainy photos without Photoshop?
- How to improve grainy photos?
It means digital noise that often appears on images. Don't mistake it for the artistic film grain.
Learn the difference between film grain and digital noise
There are several reasons.
Discover what causes digital noise on your photos
Generally, yes. ISO determines the sensitivity of your camera sensor.
Yes, there are other image editors that are capable of removing digital noise. What's more, they are more user-friendly than Photoshop. Click the link below to get an easy-to-use editor right now:
Download user-friendly photo editor
First of all, you need to remove the noise.
So what does it all mean? Our main message is that you should take preventive measures to get a perfect shot that will need minimum improvements in post-production. Nevertheless, a grainy picture isn’t the end of the world, and we’ve given you an extensive list of programs and apps that can decrease the level of digital noise in your photos. The final choice is yours and we highly recommend you try all of them, but PhotoWorks is totally worth the attention of all Windows and Mac users. This program knows for sure how to brighten a dark picture, give an ordinary portrait a magazine-like look, get rid of watermarks on photos, add depth and realism to landscape shots, blur the photo background and do other tricks to spice up all of your photographs.
Don't know how to fix grainy photos?
Nail this task in a flash with PhotoWorks!
